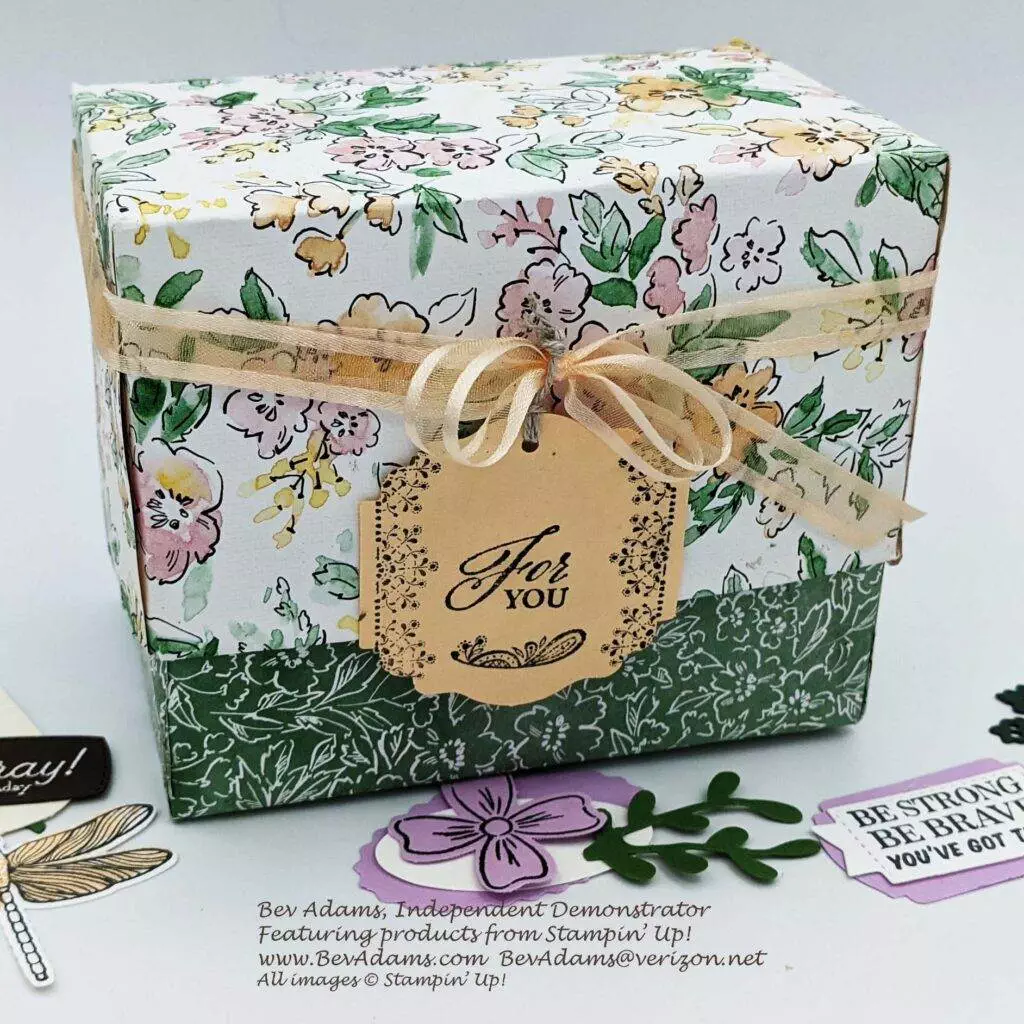
Many paper crafters spend a lot of time figuring out how to store scraps. I transform them into resources on the ready. Whenever I cut card stock, I cut down the scraps into bases and layers. In the past, I’ve discarded scraps smaller than the smallest 2 3/4″ x 4 1/4″ layer. Now I keep cutting those scraps into tags and store them in this box that looks beautiful on my desk. I love having these resources when at the ready! No more scraps! Just resources at the ready.
If you make one tag, go ahead and make several. If you are stamping and punching or die cutting flowers, leaves, strawberries, dragonflies, butterflies, or other shapes, make multiples. Cut thin strips to 3″-4″ long and either flag the ends or use your favorite Pick-a-Punch. Round the corners of any small rectangle scrap. File those resources. If you need a card as you dash out the door, all you need to do is assemble your pieces and sign your name!
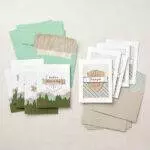
Here is the link to my popular Card Bases and Layers video. I have cutting plans for cutting a full sheet of card stock to make one card base, a large layer, and two small layers, leaving only a couple of 1/4″ strips.
Click here for the free detailed directions and watch the video below.
You’ll want to order these products from my online store at Stampin’ Up! Click the individual products you need or the “Add All to the Cart” button. The Pearlescent Paper is there just for the cardboard backing. You may have saved this medium thickness cardboard and have it on hand already. If not, this is a wonderful and inexpensive resource to have on hand.
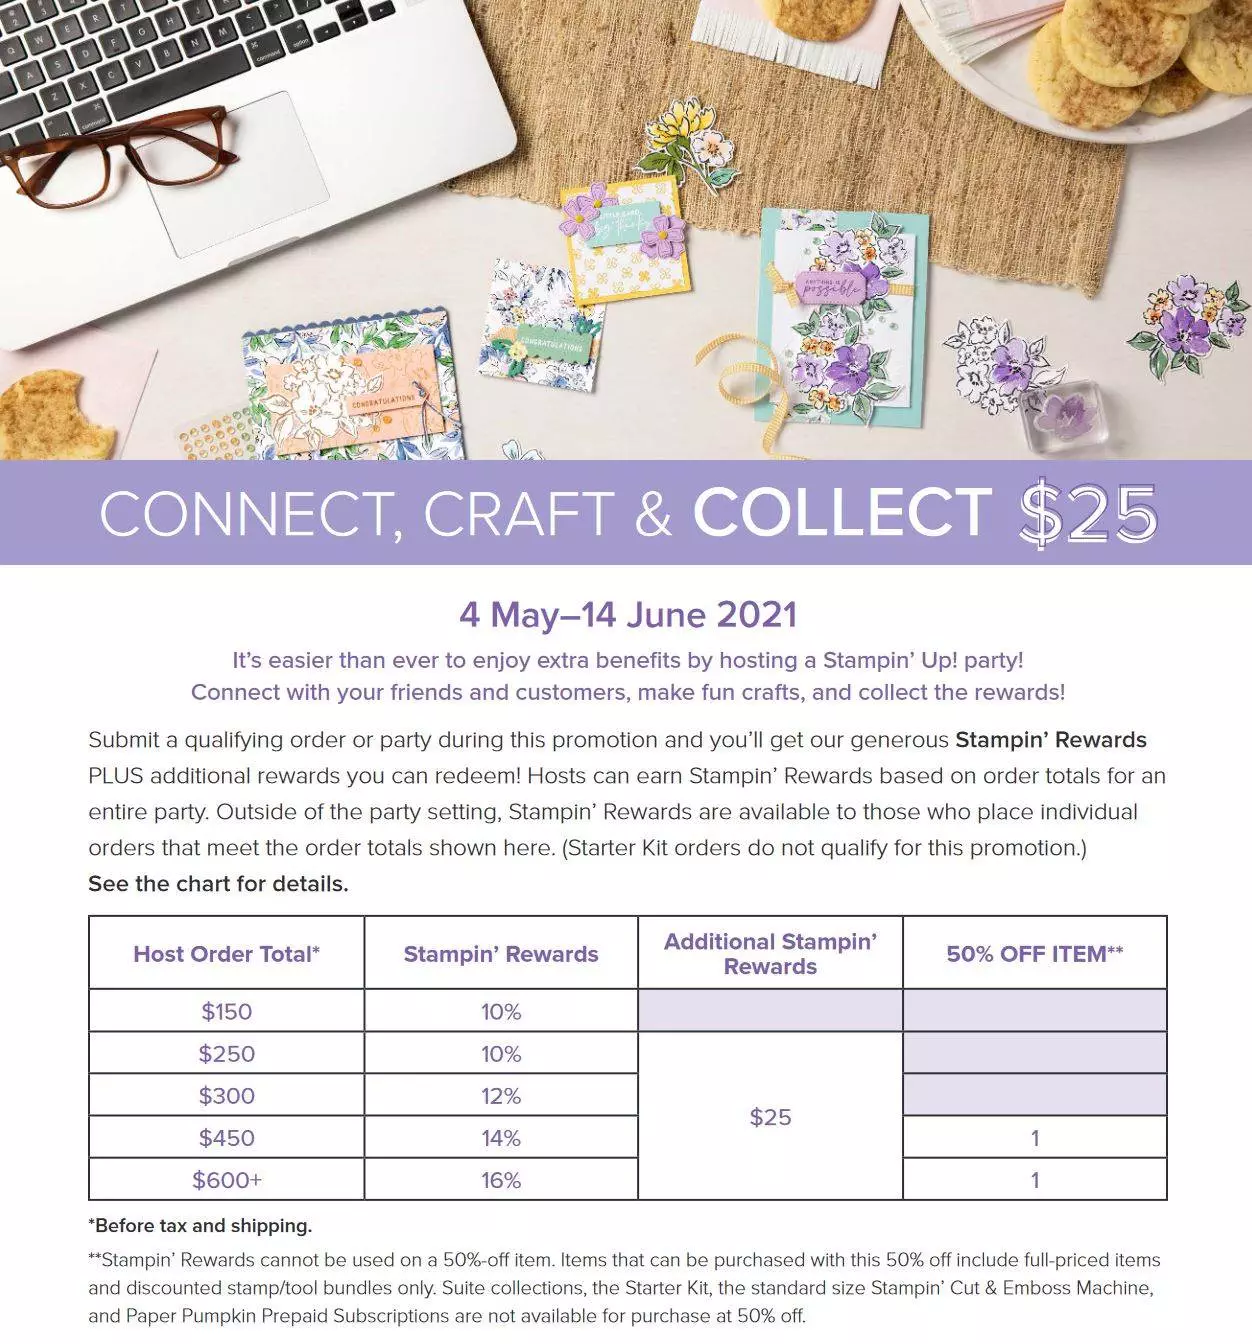
If your wish list is as long as mine, you’re in luck!!! There are two promotions to help you satisfy those wishes.
If you are reading this in an email you may not see all the links and images. Click here to see it all online.
If you would like a copy of the annual catalog, just email me for details.
Shop Now and use the Host Code CXF6PK2N, good until June 19th at 2:00 pm Pacific Time. Collect Frequent Shopper Rewards for free products from me.
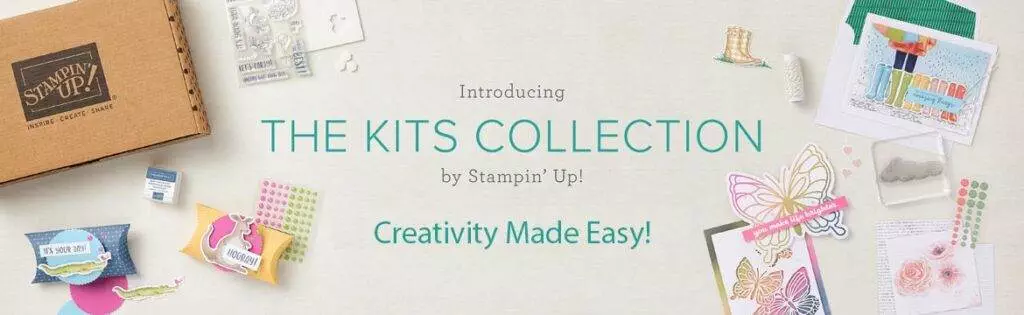
Click here to get Paper Pumpkin kits delivered to your house each month or select something from the Kits Collection.


It’s always a good time to join my team! Save Money or Make Money.
I’d be honored to be your demonstrator!
#stampinupdemo @stampinup
Oh my Gosh Ms Adam’s, I do like this box. There is so much information for me I honestly can’t thank you enough. I am a new subbie of your YouTube channel, but an old very old scrapbooker. I’m a discount shopper with Ms Martin, but I enjoy a lot of demonstrator. And I think I found you by her. Scrapbooking is easier for me, but I’ve been dabbling in cards a few years. I never knew what size scraps to keep or throw away, and this video sounds perfect. I noticed you have a system with bases and card fronts in a storage container. Did you make it? If so do you have a video where I can make it as well. What kind of dividers are you using for that system? Also, what do you put under each file to keep things organized? It looks clear something? And with the beautiful new scrap box, what dividers are you using on it as well?I want to try your system out and make a set for my BFF/sis Mary as well. She lives in an apartment and space is hard to find sometimes. I enjoyed your soft voice to teach and how well you explained step by step. Well, I’ve taken to much of your time as it is, so I will watch one more time. Have a terrific weekend and thanks for the video, Pat from Arkansas. Bling-bling is my thing
Welcome! I’m so glad you like my box! If you check on this page you’ll see a link for the free pdf directions that you could read online or print out. I just now added a blank line between the link for the directions and the video so it’s easier to spot. The dividers for the tag box are just card stock that I cut to 4″ x 4 1/2″. You’ll also see the link for the card bases and layers. There is a video and a link for that free pdf with the cutting plans. When you click that link, you may only see the first page, but there are 4 pages. For the card bases and layers I cut down some of my heavy duty bags that I sell for storing 6″ x 6″ Designer Series Paper and other products. You can find those under “Shop” and then “Products from Bev.” But I think you could as easily use 1 quart freezer bags. I’ve cut down card stock for each color and trimmed it so it has a tab. I hope this helps!